Sunday, August 24, 2014

Transom Accent, Bow Thwart and Inboard Rails


For Sunday, August 24th, I continued on the brightwork fabrication and dry-fitting - the weekend's goal.  Picking up where I left off the previous day, I focused on dressing up the transom with just a bit of teak accent.  The blocks will be secured with #6 stainless steel wood screws and finish washers, will hide the bronze screws securing the aft thwarts, and will be drilled to allow a length of rope knotted from the inside (below the thwarts) which will serve as a means of carrying the dinghy when launching.

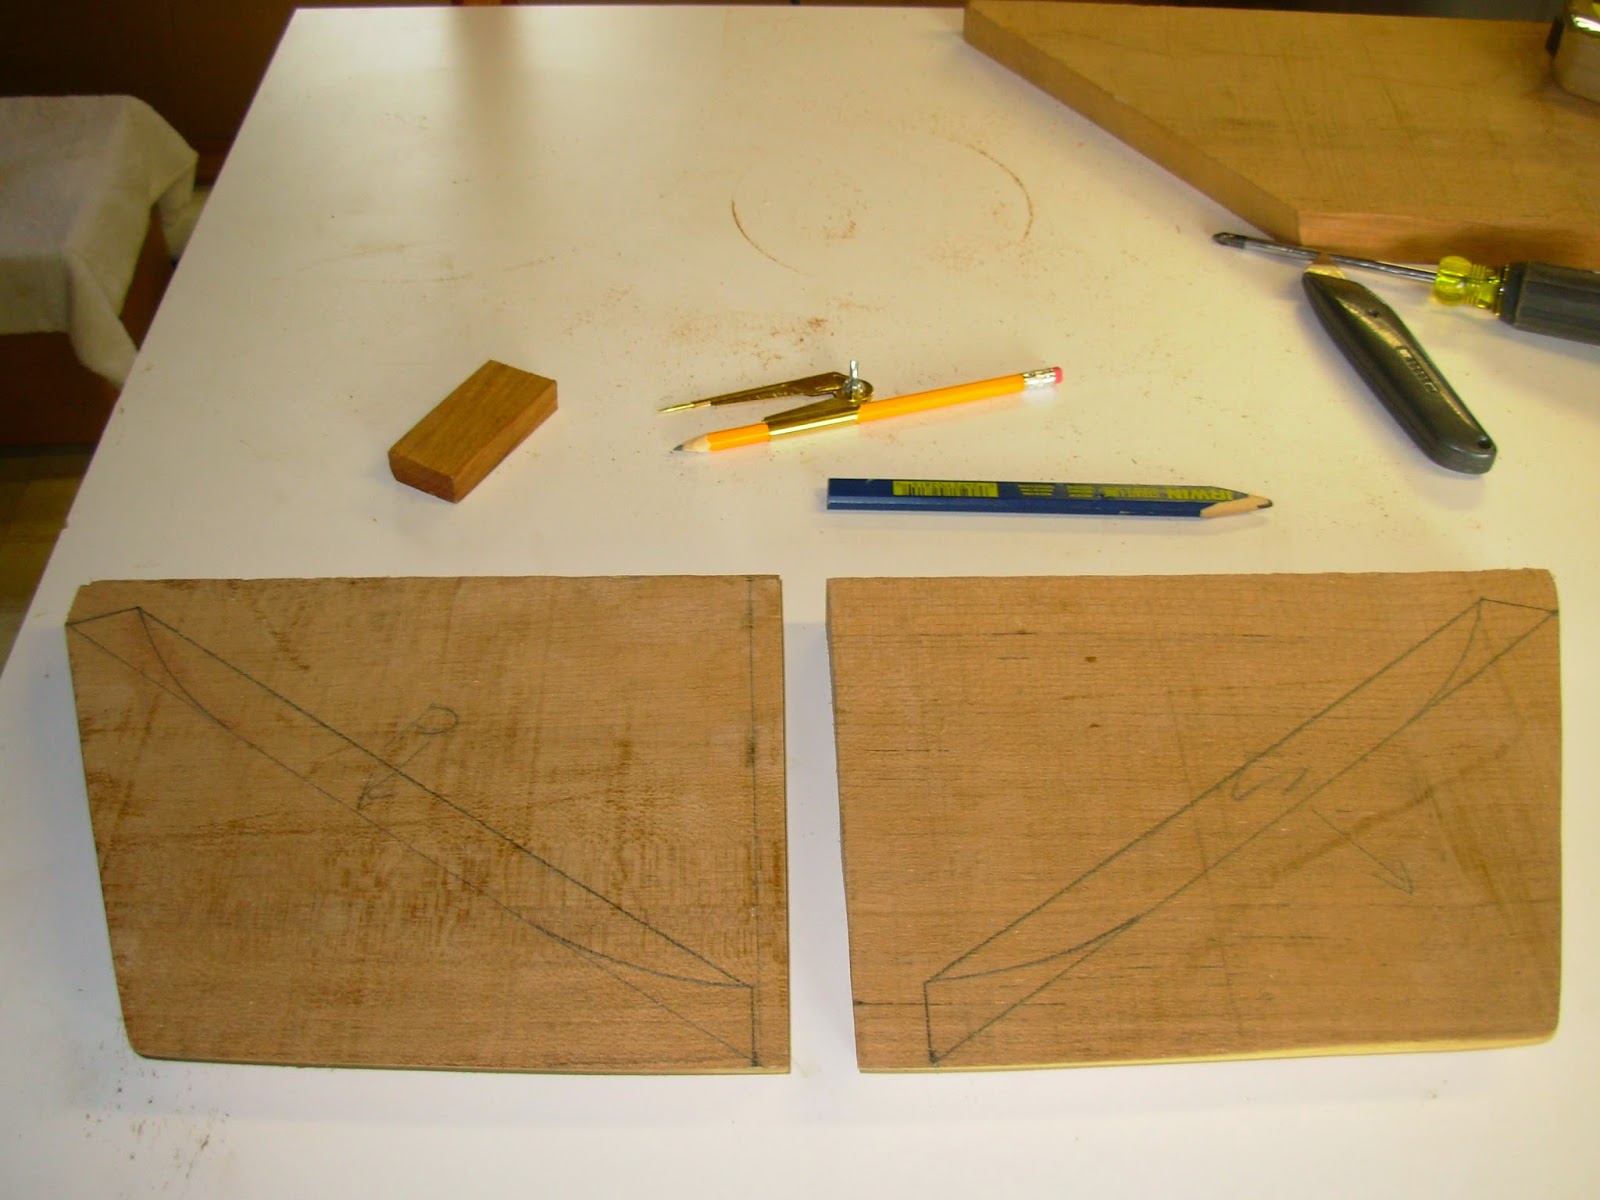
The port side....I'll call it the "transom accent"...


...and the starboard transom accent.


After finalizing the transom accents, I turned my attention to finishing the bow thwart.  This task was the obvious next step for me, and once dry-fitted, it would allow me to create the inboard rails for the dinghy.  I removed the clamps from the block as well as the tape, prying off the cured epoxy squeeze-out.  Using the random orbital finish sander, I cleaned up the top and bottom surfaces, transferred the cardboard template to the block, and then cut out the bow thwart on the band-saw.


The rough-shape bow thwart - sorry for the blurry photo.  Taking the inboard hull angle on the bevel, I transferred the port and starboard angles to the bow thwart and began hand-shaping.


After surprisingly little time shaping the thwart, I had achieved a good fit.  The bow thwart will eventually be secured with 1" #8 bronze wood screws, pre-drilled and recessed, and to be covered with the outboard rub rail.  For now, I temporarily secured the thwart with my crafty hot glue gun.


Once I had the bow thwart in place, I turned my attention to fabricating the inboard rails, starting with the port side.  I measured for length between the aft and bow thwarts, and added about a 1/4" for expected trim waste.  For now, I just focused on shaping the forward end of the rail.  I had to account for the angle of the hull and how the rail intersected the thwart - this required a little bit of patience between each rail.


The port rail, above, and the starboard rail, below.


Once I had the inboard rails rough-shaped and ready to fit in place, I fired up the steambox to make the wood more supple and just easier to bend into position, and placed both port and starboard rails in the steambox for 45 minutes.  Leaving one in the steambox as I worked the other, I began with the port side.


I bent on each inboard rail first, and then came back with the outboard rail.  Below, a view from the stern showing all rails clamped into their future homes.


The inboard and outboard rails are in a very rough condition yet, and will undergo shaping and styling in the next phase of the project.


Finally, a view looking aft showing rails, thwarts and transom rail.


Total Time: 4.5 Hrs.

Fitting Aft Thwarts & Inboard Transom Rail (the brightwork continues...)


This weekend, with no commitments and a lot of free time, I intended to bring the brightwork to a close (at least get the brightwork roughed in), so that I could turn my attention to paint preparations - filling, fairing, priming, and topcoat.  Saturday, August 23rd, was spent working on dry-fitting of the aft thwarts, inboard transom rail as well as the outboard transom rail. The aft thwarts are important components in the overall brightwork scheme as they serve to anchor the rails, but they also allow me to measure for the inboard rails...which was next on the list.  The brightwork going onto the sailing dinghy is all custom work, and so I am following the path of least resistance in the order of fabrication and installation - completing part "A" allows for the completion of part "B"...

To begin, I removed the steam-bent outboard rails, curious to see what kind of spring-back I would get upon removing them from the boat's sheer.  The outboard rails were steamed and clamped onto the dinghy's sheer a couple of weeks ago, and I considered the process a success.  When I removed the clamps I observed some spring-back, but a lot of the boat's curve remained in the rails. Below, with one clamp remaining, the boat's beamy curve is still somewhat captured in the outboard port rail.


I observed the same results on the starboard rail after removing all but one of the clamps.


With the outboard rails set aside, I removed the glue blocks and solvent washed the surfaces that had held the glue blocks.  After this chore, I turned my attention to the aft thwarts.  Again, these thwarts were and important milestone to reach as they would allow me to move forward with the balance of the inboard rails.  Prior to temporarily securing the thwarts in their future homes, I completed some last minute shaping of the thwarts to improve their fit.  After spending a good amount of time obsessing over the details, I called it good and took to the hot glue gun to "install" the thwarts.


The port side aft thwart, hot-glued in place.  You may notice that the thwart sits just proud of the sheer line and transom.  It was purposeful to install the thwarts in this manner so that a camber could be shaped into the top surface which will promote water run-off.


With the thwarts temporarily secured, I established a plan for the installation of the fasteners that will ultimately secure them.  Measuring from the forward end of the port thwart, I marked for the 3/4" #8 at 1", the 1" #8 at 2.5", and the 1 1/4" #8 bronze screws at 4" and 5.5".  I replicated this pattern for both sides of the each thwart.


Below, the starboard thwart with a 3/4" bronze screw secured in its aft side (transom).  I pre-drilled all holes and counter-sunk to recess the screw heads.  These screws will be covered by addition brightwork - more to come on this.


After all fasteners were in place, I removed the screws and carefully broke the glue bonds, removing the thwarts.  I cleaned the boat's surfaces with solvent, and then reinstalled the thwarts with their fasteners.  I then turned my attention to the inboard transom rail that would span the port and starboard thwarts.  Sorry that I did not get pictures of this process, but got into what was an organic process of creating a rail for this space:  templating with cardboard, apply the template to a piece of teak, cutting the rail out of the teak with a band-saw, rough fit, and then final shaping.


With expectations to get to the inboard rail on Sunday, I knew I needed to get the bow thwart roughed in so that I could measure for the inboard rails.  So with that, I templated the bow thwart with a piece of cardboard, found a couple pieces of teak that could be used to create the thwart, and epoxy-bonded them together.  Shown below, the blocks being "glued-up" with epoxy.  I taped the edges to protect the teak from squeeze out, wrapped the entire bundle in plastic sheeting, and clamped them together.  I would shape and rough-in the thwart tomorrow.


The final to-do on the day's list was the outboard transom, or stern, rail.  The sailing dinghy's rudder hardware is a simple installation of two small gudgeons that the pintles drop into.  I had planned to install teak blocks for these to gudgeons to mount onto, and to this end, I created two rails for port and starboard - shown below.  I templated the rails with cardboard and transferred them to teak material, and cut them out with the band-saw.  


The starboard transom rail, below, in the process of creation.  However, after I removed the rails from their teak stock and did some preliminary hand-shaping, I was not satisfied with their appearance in situ.  Once I had them up on the transom, with the top teak gudgeon block also clamped in place, it seemed way too much brightwork for this small transom.  So, I scraped the outboard transom rails and opted to go back with the gudgeon installation directly onto the transom.  The outboard bronze screws securing the aft thwarts would treated with some stylish creativity - more on that later.


Total Time: 6 Hrs.

Thursday, August 14, 2014

Steam-Bending the Outboard Rails


Saturday, August 9th, I set out to begin the dry-fitting of the rails - at least the outboard rails.  I started out by selecting two of the four rough-prepared teak rails, and then cut those two pieces to a more manageable size.


At the boat, I oriented the rails fore and aft, starboard and port, and placing the most pleasing grain to the outside for visual appeal.


While I was orienting the rails to their future homes, I fired up the steam box...


...and first placed the port rail inside.  You can just barely make out wisps of steam emanating from the "box"; the rails would stay in the steam box for roughly 45 minutes.  


While the port teak rail was "softening" in the sauna, I finished preparing for the bending and clamping of the rails.  Using a hot glue gun, I applied small clamping blocks to the inside sheer of the boat - along both the port and starboard sides.


I also prepared small clamping blocks for the rail itself.  These blocks would serve to protect the soft wood from the clamps, helping to distribute the clamping force across a broader surface and helping to eliminate marring the teak rails.  Finally, I positioned 9 clamps along the port side and 9 clamps along the starboard side.  The stage was set.


Still having time before the teak was ready to emerge from the steam box, I decided to make final decisions on the fasteners for both the rails and the thwarts.  For the outboard rails, I decided to use a #6 1 1/4" stainless steel wood screw and a finish washer.  This screw will ultimately pass through the inboard rail, through the fiberglass of the boat's sheer, and into the outboard rail.  The length is just a tad long, so I will plan on snipping just a "touch" off the end to ensure damage-free installation.  The inboard rails will be secured first, and will be set in place with silicon bronze #8 3/4" wood screws.  Again, these screws will require just a bit of length removed to ensure a good fit.  In addition, these bronze screw heads will be recessed into the outboard sheer of the boat to allow the outboard rail to be installed over them, thereby hiding them from view.


The thwarts will be secured with a combination of #8 silicon bronze screws, two 1 1/4" screws, one 1" and one 3/4" screw.  These screws will also be recessed into the sheer and hidden from view by the outboard rail.  I haven't fully settled on the use of #8s, and so may move up to #10s for the thwarts.


Having made most of the fastener decisions, I was ready to pull the port teak rail from the steam box.  Wearing heavy gloves, I pulled the water-soaked towel away from the steam box opening and grabbed the port rail.  Beginning at the stern, I set the rail against the sheer, placed the lose block against the rail, and set the clamp in place.  I then set the clamp to firm pressure, and then moved forward to the next station, or glue block.  I continued down the port side, bending the rail in and clamping as I went.


The picture below shows the port outboard rail "bent on" the outboard sheer.  I then returned to the steam box and placed the starboard rail inside.  After 45 minutes, I was ready to repeat the exercise.


Looking over the bow, both rails are clamped into place.


Finally, a shot of the starboard aft quarter.  The rails will set up over the next few days, taking on the shape of the boat's sheer.  The inboard rails will be next, and I will use the same technique.  Just prior to the bending of the inboard rails, I will plan to make final adjustments to the thwarts and dry-fit them with fasteners.  Having them in place will allow me to make the necessary final length adjustments to the inboard rails.


Total Time: 3 Hrs.

Sunday, August 3, 2014

Constructing the Steam Box


No this is not a Rube Goldberg inspired grass cutting contraption.  What we have here is a steam box, assembled from parts picked up from the local big box retailer and powered by a used wallpaper steamer.  The sailing dinghy has a pronounced rise in her sheer  as it approaches the bow.  Coupled with the fullness of her mid-section, I thought the best way to safely bend her new rails on would to first apply some gentle steam persuasion.  The rails are roughly 3/4" thick requiring the steaming time to effectively be ~40 minutes.  So, on this afternoon Sunday, August 3rd, I put the pieces together to create a rather rudimentary, but effective, steam box.


The body of the steam box is schedule 40 PVC pipe, 4" diameter.  I capped the elevated end of the box (pipe) and then fitted the lower portion of the box with a T-fitting.  The T-fitting has a hose barb secured to the underside, and it will be here that I will attach the hose to feed the box with steam.  The steaming device is a used Wagner wallpaper steamer that I purchased online for less than $40.  In all, the steam box set me back roughly $90.  I will also plan to use the steam box for new rub rails to be installed on the Dyer dinghy - to come at a point in the not-to-distant-future.  I fired it up, and in about 20 minutes had a good amount of steam spilling out of the lowered end of the steam box - it works!


Saturday, August 2, 2014

Starboard Aft Thwart


Saturday, August 2nd, I spent a few hours on the sailing dinghy shaping the starboard aft thwart, among other various duties.  To begin with, I water washed all of the epoxy fill applied to the old rail fastener holes - using water and a scotch-bright pad.  Following the water washing to remove the amine  blush from the cured epoxy, I used a 5" finish sander and 80-grit pads to rough-fair the surfaces.  Prior to priming the hull (Alexseal primer and topcoat paints arrived Friday evening), I will sand the hull with 80 and 120 grits.  The following few photos are referencing the filled and rough-sanded fastener holes.

Port


Starboard


Starboard, looking aft


Port, aft quarter


The real focus of today was completion of the starboard aft thwart - shown below in the "roughed-in" phase.  Using 5/4 teak, I applied the previously constructed template and replicated it onto the wood.  A quick couple passes on the bandsaw, and I was test-fitting the thwart in its future home.  Again, taking the angle off the stern, I removed a sliver from its aft portion and then began shaping the balance of the thwart by hand.  Finally, I achieved a nice "roughed-in" fit.  I will eventually make some minor alterations to achieve best fit, but for now I had accomplished what I intended for the day.


Back in the shop, I made various markings on the port and starboard thwarts to begin the process of laying out the final shape.  Not wanting to nullify hours of work, I began  laying out and removing material with the bandsaw in most deliberate way.  I had a general idea of their final appearance, but did not want to be hasty in removing material should I have a last minute change of heart.


Below, the port and starboard aft thwarts coming close to their final shaping.  The amount of material will provide great stability along the boat's sheer, and provide a bit of surface area for the captain, or first mate, to rest a hand or an arm.

Port aft thwart.


Starboard aft thwart.


Total Time: 3.5 hrs