Wednesday, April 1, 2015

Work Completed

March 29, 2015

Work has come to completion on the custom sailing dinghy.  Work included fabricating new brightwork for the dinghy, prepping bottom and topsides for eventual paint, priming bottom and topsides, and applying topcoat paint to the bottom and topsides.  Color choice, along with the new teak brightwork, came out looking really nice.

BEFORE


AFTER


Sunday, March 29, 2015

Final Assembly & Mast Thwart Install


March 29, 2015


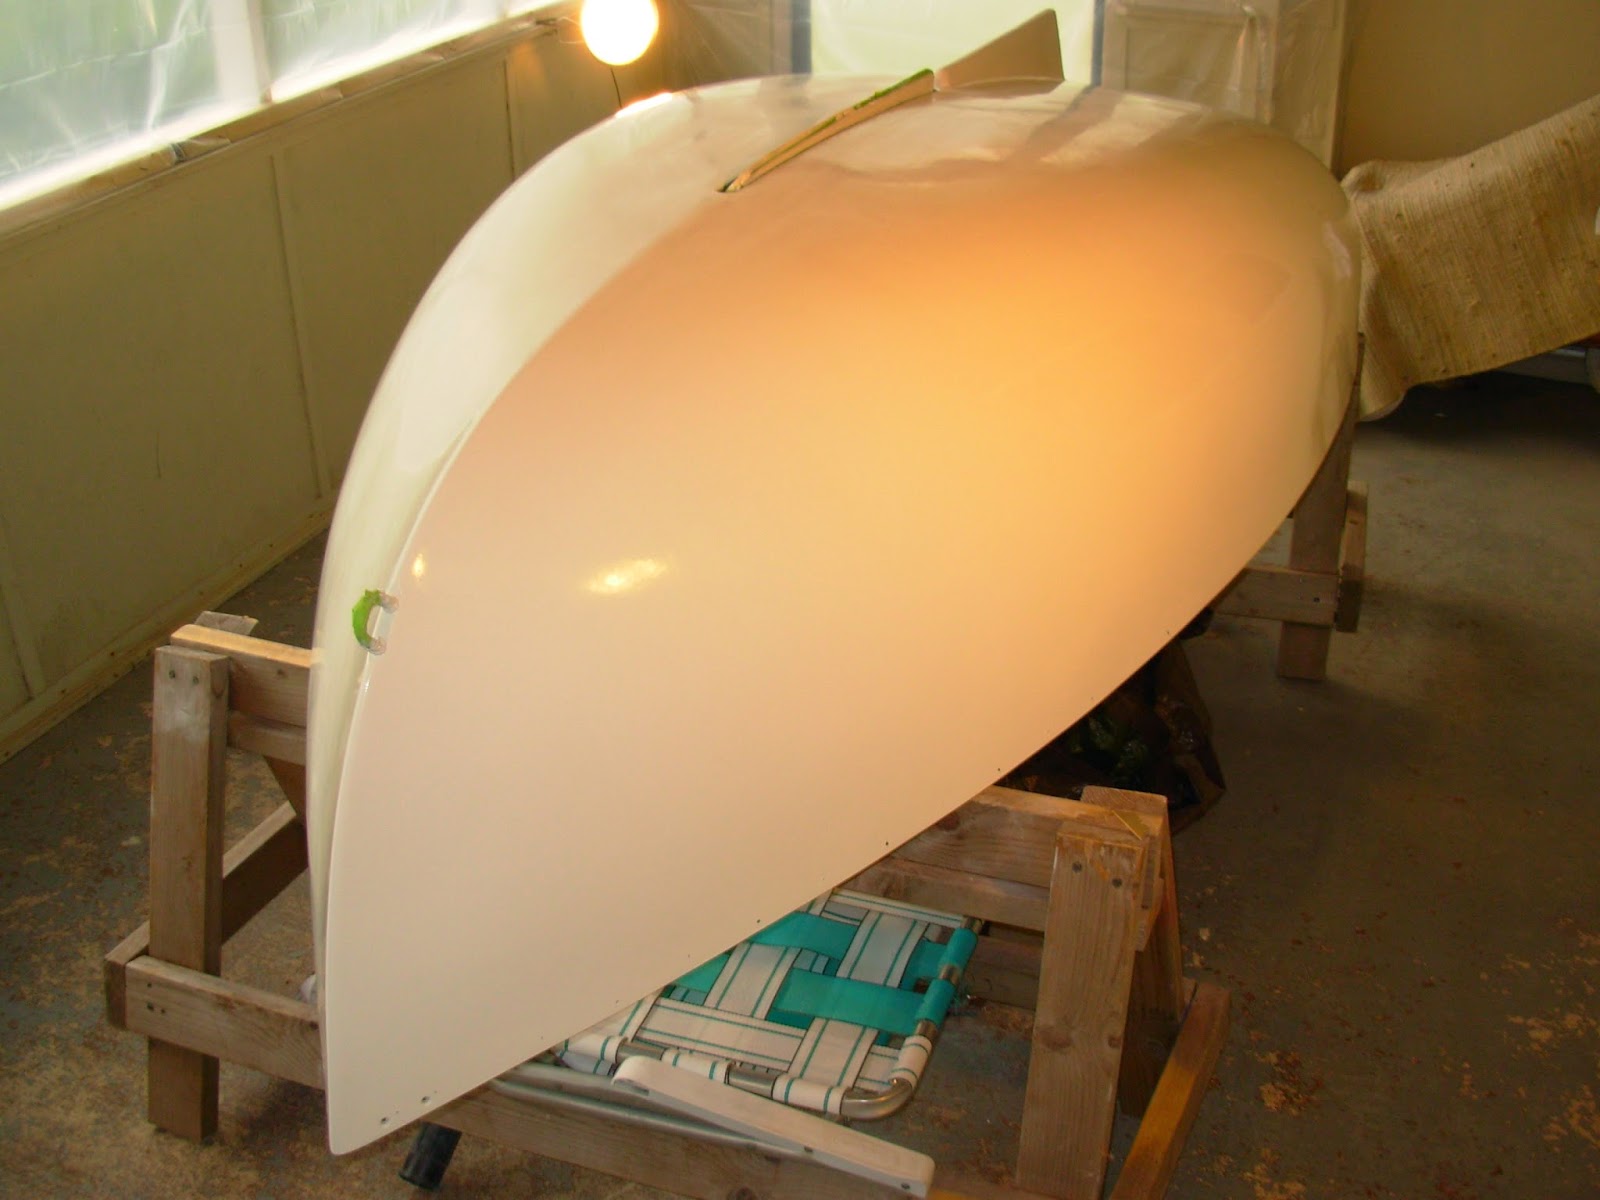
The day had come for the sailing dinghy's completion - final assembly of the new brightwork, including shaping of the mast thwart now that the interior rails were to be installed.  Mustering some help from family the week prior, I managed to flip the dinghy and rest her on a makeshift cradle of 4X4s and plenty of towels to protect the new paint.  With the dinghy in good working position, I was ready to begin laying out the brightwork for assembly.


I was a bit foggy on the fastener plan being that it has been such a while since I had the brightwork on the boat in its dry-fit phase.  So, the first step was to lay out the various components and accompanying fasteners, by position.  With this exercise complete, I gathered the various other tools for the installation: screw drivers (flat and philips), a few clamps, Boatlife Teak Brown Life-Calk, mineral spirits for clean-up, and plenty of rags.   


I first tackled the bow and stern thwarts, securing them from the exterior with various size silicon bronze screws countersunk - the exterior rails and stern accents would eventually hide these countersunk screws.  Prior to installation of these pieces, I liberally applied teak-colored Life-Calk to the surfaces to be in contact with the dinghy; I cleaned up the calk that was pressed out by the installation process with mineral spirits...cleaning surfaces as I went.


Pictured above and below, the stern of the sailing dinghy in its completed phase.


With the thwarts and accents pieces installed, I turned to the exterior rails since these fasteners would be installed from the interior of the boat and countersunk .  Again, these countersunk silicon bronze screws would be hidden by the interior rail.  Installation included plenty of Life-Calk...cleaning as I progressed.  The interior rails were next, and provided the most resistance due to the significant spring-back that two rails experienced.  In the end, and with a few persuasive clamps, I was able to secure these final two rails and wiped the surfaces clean.


The last order of business in the dinghy's modest restoration was the final shaping of the mast thwart - actually the first AND last piece that I would work for this project.  When I first worked on the mast thwart, I shaped the outboard ends of the teak board to take the inward curvature of the hull as well as the tapering of the board from aft to stem.  Now that the interior rails were in place, I had to create a rabbit in the outboard edges that sloped from forward to aft.  With a sharp 1/4" chisel, and after taking numerous measurements, I carefully carved the rabbits for a snug fit.  Four silicon bronze screws secure the thwart from underneath - the mast thwart rests atop a 1/4" fiberglass shelf through which the mast passes.  What I was unable to do on this project was create the hole in the teak mast thwart to allow the mast to be stepped.  This will be an easy enough task for the owner to complete at his leisure.


The sailing dinghy looking a bit younger in years.


Total Time: 7.5 Hrs


Saturday, January 24, 2015

Oiling Brightwork


January 18, 2015


With the painting of the hull complete, I was now ready to return to the brightwork.  The time had come to treat the teak wood with a sealer / preserver.  The owner had decided against a varnish for the brightwork, but the teak would need some conditioning and protection from the tough FL environment - chiefly UV protection.  Periodic application will serve to prolong the life of the sailing dinghy's new brightwork.  


The application is straight forward:  wipe on with a rag, wipe off residual oil with a secondary rag...."Daniel-son."  The bow thwart below has been treated with the oil while the port aft thwart has yet to be treated.


After all thwarts, and the stern rail, had been treated, I moved on to the rails.  Treating the rails would conclude the day's application.


As can be seen below, the mast thwart has yet to be treated due to additional scheduled work needed for final installation.


Total Time: .5 Hr

Tuesday, January 13, 2015

Fifth and Final Topcoat Application


January 11th, 2015


Determined to create a dust-free, or at least windless environment, I made a run to the big box hardware store the previous evening and purchased materials to this end.  I managed to persuade a couple employees to part with 40' of furring strip material for 30% of the retail price, and along with plastic sheeting 3.5mils thick, I was in business to eliminate the chance for a random gust of wind to ruin my best effort.  That evening, I went ahead and sealed the screened areas of the porch using the furring strips both at the top and bottom to secure the plastic sheeting.  It was an immediate improvement in the environment, and I'd be ready in the morning to prep the hull for its final topcoat.


Prior to breakfast, I donned a dust mask and hand-sanded the hull with 320-grit paper, making frequent paper changes to ensure a consistent surface prep.


Once I had finished the sanding, I vacuumed the hull thoroughly and then finished with a solvent wash to remove any remaining residue.  As I had done prior to the fourth topcoat application, I used a tack cloth to ensure the hull surface was a clean as possible.  Burning a little time, and to allow anything suspended in the air to settle, I went in for a little breakfast.  Now with the belly full, I returned to the workshop to prepare the paint: combining base and converter, along with a ~50% reducer by volume.  Yes, I bumped up the reducer a tad more.  My thought here was that I already had adequate paint thickness achieved on the hull, this final coat was more of an "appearance" coat, and finally, I was getting better and better results with the increase in reducer.


I finished mixing the paint and set it aside for the required 15-minute induction period.  While I waited through the induction period, I tacked off the hull one last time, and then changed into a fresh set of work clothes that I knew would be dust-free.  Finally, I grabbed my respirator and a fresh set of gloves and then set out to paint the sailing dinghy one last time.  As I had done the previous coats, I made my way around the hull making sure to paint off of a wet edge.  The lighting does not provide the best view, but this last topcoat application came out better than all previous applications.  I will allow the topcoat to cure over the coming days, prior to installing the new brightwork.  In the meantime, I will be treating the new brightwork with a teak sealer.  


Total Time: 1 Hour

Fourth Topcoat Application


January 10, 2015


Picking up where I had left off with the application of the third topcoat, I began by sanding the hull with 320-grit paper by hand.  After vacuuming the hull to remove most of the sanding dust, I came back with solvent to wipe the hull in order to remove the remaining residues from the sanding.  I also chose to utilize a tack cloth to further my effort to ride the surfaces of all particles that could spell disaster for the curing topcoat.  Over the coarse of the topcoat applications I had been adjusting the amount of reducer and now felt that I had reached an acceptable ratio.  I planned this fourth coat to be the final topcoat.


After mixing the topcoat base and converter, I added the reducer - thinning the base and converter volume by about 45% (higher than what the Alexseal technical data sheet called for).  As I awaited the required ~15 minute induction period, I applied the tack cloth one final time and then donned my respirator and fresh gloves.  


I made my way around the hull, starting at the starboard bow and finishing at the port stern.  After cleaning up and letting things cure for a bit, I made my way over to the hull for an opportunity to see how the paint was laying down and if imperfections surfaced.  Yep, there they were!  Dust particles had found there way onto the glossy, mirror-like finish; pulled into the paint as if on a string.  What I chose to ignore, hoping for the best, was that the wind was up on this painting day, resulting in the barrage of dust particles.  Plans were already being framed in my mind to prevent this for the next, and final, topcoat application.


Total Time: 1 Hour

Monday, December 29, 2014

Third Topcoat Application

December 28th, 2014


With the Christmas festivities beginning to settle a bit, I made an early morning bee-line to the dinghy for her third topcoat application.  Actually, the evening before, I took to sanding the hull in preparation for this early morning application.  The sanding was by hand and done with 320-grit paper.  I had added another work light to help to better see the hull surfaces. The next three photos are post-sanding.


The morning began with mixing the topcoat paint.  In this instance I began to play a bit more with the reducer ratio, and upped it to roughly 46% by base/converter volume.  After mixing the paint, and awaiting the induction time to pass (15 minutes), I solvent-washed the hull to pick up any remain dust that the vacuumed missed the night before.  Application was with a solvent-capable 4" foam roller.


A few imperfections formed on the hull, but will be addressed through the next sanding round and final topcoat application.  I will be applying the first coat of teak sealer to the new brightwork in the coming days in order to prepare for its installation.


Total Time: 1 Hr.


Saturday, December 20, 2014

Second Topcoat Application


December 20, 2014

With a good topcoat applied and cured, I set out today to get the 2nd of 3 or 4 total coats on the dinghy.  The weather was good for painting and so I took advantage of the opportunity to get this second coat onto the hull.  I began with sanding the hull, by hand, with 320-grit paper.  I took care of a few small bubbles that had cured before they had a chance to pop and flow out to an even coat - a tad more of the reducer would solve this issue.  The picture below is the cured first topcoat application.


I worked my way around the dinghy admittedly still struggling with poor lighting conditions.  As a result, the sanding is a bit of a spastic battle trying to see a particular portion of the surface from a few different angles to catch imperfections.  Over the next two coats, I will arrange additional work lights to improve visible imperfections.  The picture below is after sanding with 320-grit paper.


I vacuumed most of the sanding dust, but as usually I solvent-washed the surface to take care of any remaining dust.  I upped the ratio of reducer to the base/converter mixture for this application.  The base volume was 5 ounces, the converter 2.5 ounces - the noted 2:1 ratio for brush and roll application.  To those 7.5 ounces, I then added 3 ounces of reducer, for a 40% by volume ratio.  The paint had noticeable improved layout performance.  After the application, I did catch a couple places that I had appeared to roll out lighter than surrounding areas - blaming the lighting for this.  I plan to apply two more applications of the topcoat.


Total Time: 1.5 Hrs.